Sunday, 16 October 2011
REVIEWS OF MY WORK FROM THE PEER REVIEW SESSIONS
http://kibomkun.files.wordpress.com/2011/08/archdes101_report6.pdf Sean reviewed my first lasercutting project - sustenance
Sunday, 25 September 2011
LINKS TO MY OTHER BLOGS
http://eken017design2.blogspot.com/
(Semester 2 -
GIFTING - digital architecture)
http://eken017design2-gifting.blogspot.com/
(Semester 2 -
WAKING - augmenting reality,
SUSTAINING - laser cutting,
GATHERING - animation/drawing)
http://archdrc102eken017.blogspot.com/
(Semester 1 digital architecural media)
(Semester 2 -
GIFTING - digital architecture)
http://eken017design2-gifting.blogspot.com/
(Semester 2 -
WAKING - augmenting reality,
SUSTAINING - laser cutting,
GATHERING - animation/drawing)
http://archdrc102eken017.blogspot.com/
(Semester 1 digital architecural media)
Monday, 12 September 2011
RESEARCH FOR ARCHITECTURAL OFFICE ATMOSPHERE
http://www.youtube.com/watch?
http://www.youtube.com/watch?
roots , first half of clip only is what i'm after)
http://www.youtube.com/watch?
vegetables time lapse
http://www.youtube.com/watch?
roots , first half of clip only is what i'm after)
http://www.youtube.com/watch?
vegetables time lapse
Saturday, 3 September 2011
more research


http://www.wayfaring.info/2008/10/21/kunsthulle-lpl-liverpool/


http://www.colorfulhomedesign.com/578/amazing-tree-house-ideas-gallery-design-by-architect-robert-harvey-oshatz
http://www.ektopia.co.uk/ektopia/2010/01/27/the-third-the-seventh/ - film to look at?
http://sweet-station.com/blog/2009/09/mobile-treehouse/ log house
Wednesday, 24 August 2011


Tuesday, 23 August 2011
INITIAL IDEAS - RESEARCH FOR ANIMATION (GATHERING)
http://www.youtube.com/watch?v=q93LBOSY3Lo
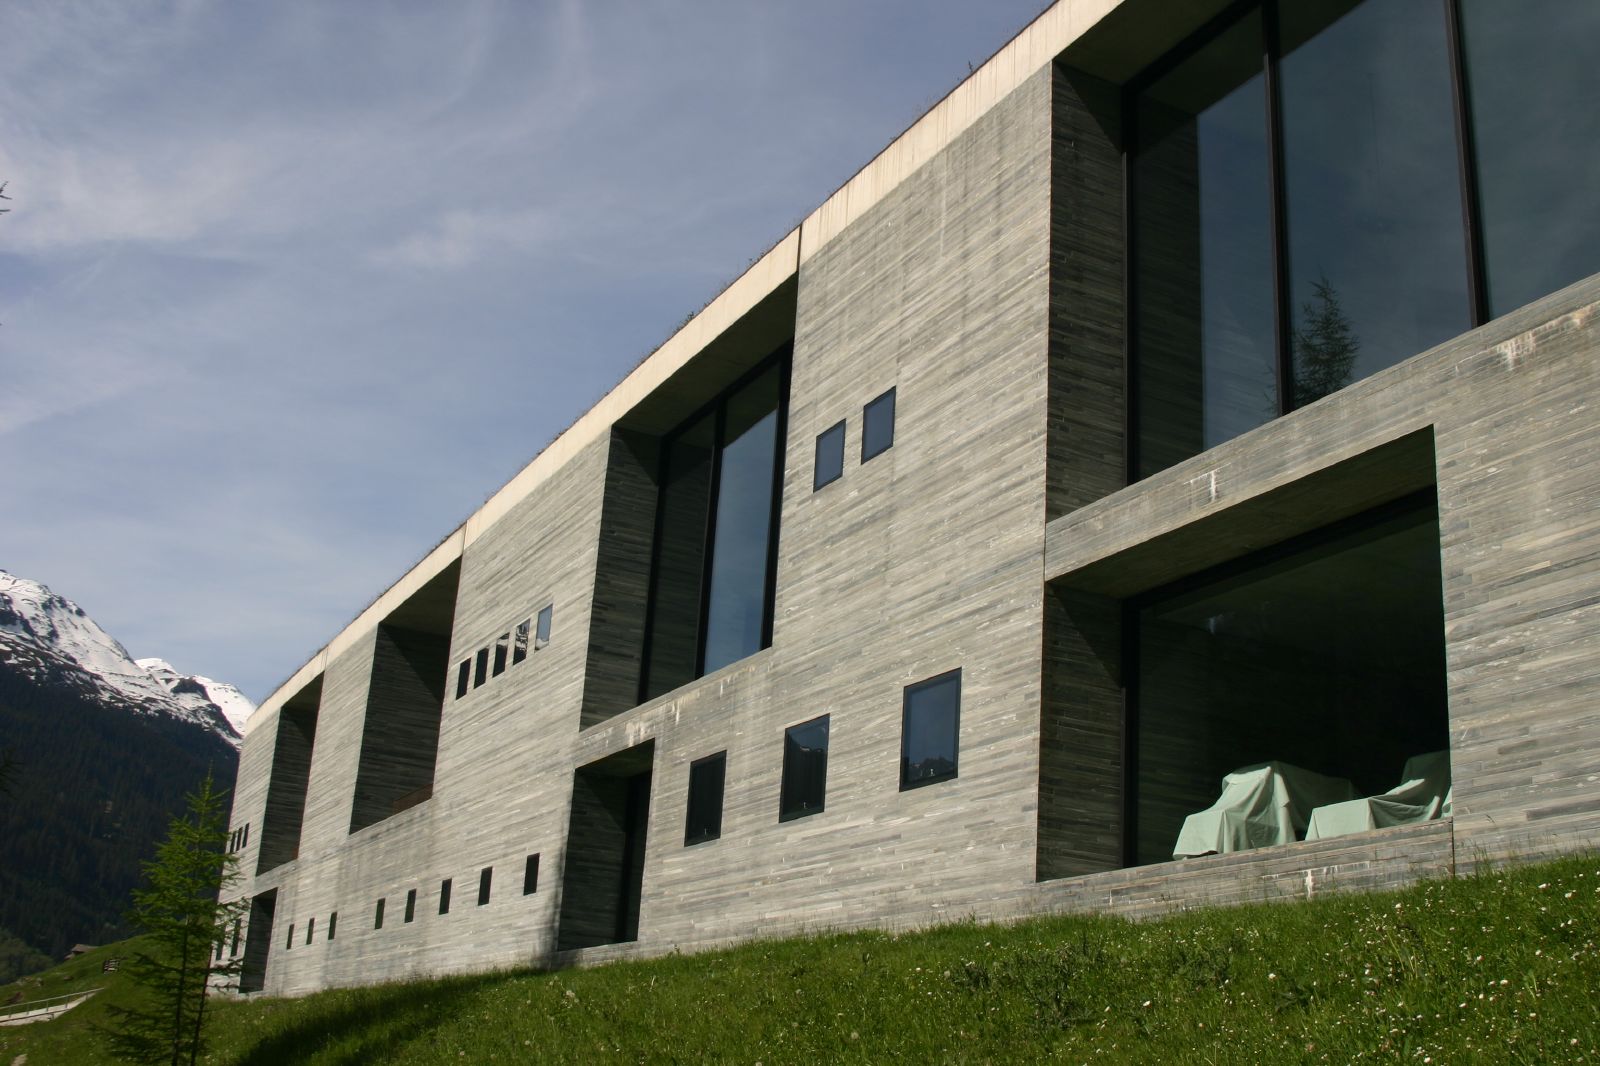
A concert inside Zumpthor's baths in Switzerland, reminded me of the article about buildings and the notion of "performance", of opening up, being flexible and allowing for unforseen events.
http://www.youtube.com/watch?v=q93LBOSY3Lo
http://kibomkun.files.wordpress.com/2011/08/archdes101_report6.pdf Sean's feedback on my lasercutting project, he had some really interesting references he suggested I look at to further my interest in paper etc and there are some helpful comments about ways in which I could think about my work differently.
www.youtube.com/watch?v=lEazoVuwQ2s

![[Shigeru+ban+kobe+church+1.jpg]](https://blogger.googleusercontent.com/img/b/R29vZ2xl/AVvXsEjSlNFLAxMnHiJOzG1hQa2RNS57UT2BXcTPlaCnSLAlUIbtUPuCAPxXg-THXQoae_nkNShEhMzkPLhyphenhyphenB3po8GJn6wYjhFrXUIBMhClRVjGi-fyiWRBDU88-3zjBGDVsTBsWzfQ6SS93-f09/s1600/Shigeru+ban+kobe+church+1.jpg)

PEER REVIEWS AND FINAL FEEDBACK FOR LASERCUT PROJECT
WORK I REVIEWED:
Will Brooks: Animation
Lauren Collins: Augmenting Reality
Ye Jin Yoon: Animation
FEEDBACK I GOT ABOUT MY LASERCUT WORK:
blogs to look at to further my research : http://kibomkun.wordpress.com/
Will Brooks: Animation
Lauren Collins: Augmenting Reality
Ye Jin Yoon: Animation
FEEDBACK I GOT ABOUT MY LASERCUT WORK:
blogs to look at to further my research : http://kibomkun.wordpress.com/
Tuesday, 16 August 2011
ELEVATIONS SECTIONS AND MATRIX
  |
| unfinished matrix |
 |
| axonometric view |
 |
| side view |
 |
| rear view |
 |
| side view |
 |
| front view |
 |
| plan view |
FINAL MODEL INTERIOR LIGHT EFFECTS
 This post shows photos of my finished 1:20 model. The model was lasercut from 3mm cardboard. Ideally I would've liked to make the model from sheets of handmade recycled paper to get the organic look I was going for but with each sheet of paper taking a few hours to make and because I was going to need 45 sheets, it wasn't going to happen in a week! But the effect with the cardboard model is very precise which is good for mapping out where the sinks and seating were inside the stall and the laser cut out the roof detail very nicely which allowed me to test the effects of light coming through the ceiling and casting patterns on the floor. There were a few problems I had with the finished product aside from the time-consuming process of teaching myself how to use illustrator, producing the illustrator file, labelling each piece, and gluing all the pieces together accurately.. the problems are with the overall effect - I would've liked a more organic curving look to the whole structure and I think my process (drawing and planning in 2D and then manufacturing in 2d and building into 3d) didn't help me plan out how the finished product would look. In future I would like to learn some 3d modelling software to enable me to design the product as a 3d object, then break it down into a 2d vector image, lasercut it and re-assemble it into the 3d form.  |
| looking in from front entrance |


 |
| rear detail |
 |
| side detail showing tree-like openings |
 |
| front entrance showing interior sinks for soaking paper prior to processing |


 |
| detail of what surface texture would be like if market stall was made from recycled paper pulp as intended |
 |
| Interior view showing how light filters through the roof and casts patterns on the floor like light filtering through a forest canopy (to reference trees and their place in the production of paper and the recycling process) |
| dappled light filtering onto the ground through a forest canopy - this is the effect I am going for in the interior of my stall with the detail in the roof acting like the leaves of trees above to create this effect. |
 |
| interior light effects |

PAPER MACHE MODELLING
Some images showing my process for making papier mache sections of my structure. Soaked strips of newspaper in warm water for an hour or so then added more water and blended them in a food processor to form a grey pulp. Then strained most of the water our by hand and shaped into sections. Dried slowly in oven on low heat.
For the second batch I added some PVA to make the sections stronger (and I hoped this would also make them more flexible but it seemed to make them much stronger but not flexible at all. Could experiment with more or less glue if I had more time. I found that when I heated the oven too hot to speed up the drying process, the red pigment from the text on the newspaper came to the surface dying the object pink which wasn't the look I was going for as most people associate the grey mottled texture with recycled paper so that was the look I was after.


 |
| hand-shaped paper seedling containers |
 |
| showing a nice texture that I imagine my structure would have if constructed in real life. Not liking the pink colour though. |
 |
| section of my design - a corner and a flat wall. I would've liked to cut holes in this section with the laser cutter to illustrate how the holes might work on a larger scale but the lasercutter was being moved and was out of operation unfortunately. |

Subscribe to:
Comments (Atom)